Introduction to Tablet Screen Issues
Cracked tablet screens are more common than you might think. Dropping it just once can leave you with a spider-web of cracks across the screen. Besides looking bad, it can make your tablet harder to use, from swiping through apps to reading. But it’s not all bad news! Many tablet screen issues, from small cracks to big shatters, can be fixed at home. Before diving into repairs, it’s crucial to assess the damage. Is it a small crack, or is the screen totally shattered? The severity of the damage will guide what repair method is best. Also, remember, fixing it yourself can save money, but it requires patience and a steady hand. Let’s get ready to bring your tablet screen back to life!

Understanding the Different Types of Tablet Screen Damage
Understanding screen damage is crucial when you’re looking to repair your tablet. Mainly, there are two types of damage: cracks and scratches. Cracks can be deep, affecting the way your tablet functions, while scratches might be superficial but can make reading or viewing difficult. Then there’s what we call ‘spider web’ cracks – these spread out from a central point and can significantly interfere with your screen’s responsiveness. Lastly, we have the chips, often found on the edges, which might not affect viewing but can lead to bigger cracks over time. Knowing what kind of damage you’re dealing with will help decide the repair method. So, before you dive into fixing it, take a good look and assess the situation clearly.
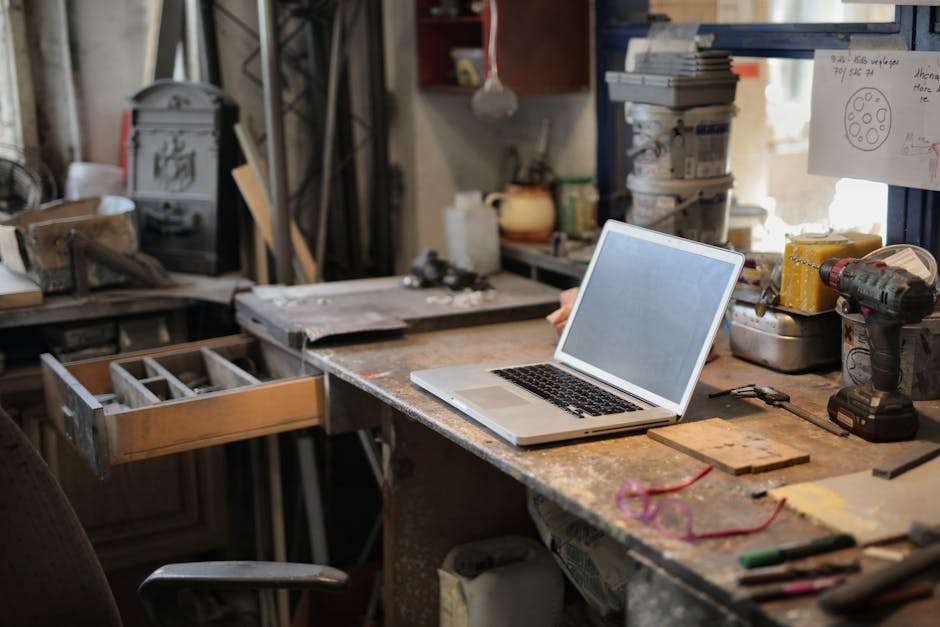
Tools and Materials Needed for DIY Tablet Screen Repair
To fix your cracked tablet screen at home, you’ll need a few specific tools and materials. Don’t worry; it’s simpler than it sounds. First up, ensure you have a basic toolkit for electronics, which should include small screwdrivers (both Phillips and flathead) and a set of plastic pry tools. These are crucial to avoid damaging your tablet further as you open it up. Next, get a heat gun or a hairdryer. You’ll need this to soften the adhesive holding the screen in place. A suction cup can also come in handy to lift the screen safely without touching or smudging the internals.
Now, for the materials: purchase a replacement screen for your tablet model. This is the most important part since a mismatched screen won’t fit. Also, grab some double-sided tape or adhesive strips specifically designed for electronics. These will secure the new screen in place once you’ve fixed it.
Remember, patience and precision are your best friends during this process. Each step requires careful attention, but with the right tools and materials by your side, you’ve got this!
Assessing Your Tablet’s Screen Damage Before You Begin
Before you dive into fixing your tablet’s screen, take a moment to really look at the damage. Not all cracks are the same. Some are just superficial, affecting only the top glass layer of your screen. These can often be easier and cheaper to fix. However, if the crack has reached the deeper layers, affecting how your tablet displays images or responds to touch, you might be dealing with a more serious problem. In this case, the repair process could be more complex and costly. To decide if a DIY repair is right for you, consider the depth and extent of the damage. Simple scratches or minor cracks? You’re likely good to go. But if turning on your tablet reveals colorful lines spreading across the screen or areas that don’t respond to touch, it might be time to consult a professional. Remember, accurately assessing the damage is your first step towards a successful repair.
Step-by-Step Guide to Replacing Your Tablet Screen
First, know this: fixing your tablet screen yourself can save you money, but it needs caution. If your tablet is still under warranty or insured, check those options first. Here’s a simple walk-through to get you started:
- Gather the right tools. You’ll need a basic set of precision screwdrivers, a plastic spudger or a thin guitar pick, a suction cup, and of course, the replacement screen.
- Power off your tablet. It sounds obvious, but make sure your device is completely turned off and unplugged before you start.
- Remove the broken screen. Use the suction cup to lift the screen gently. Then, with the spudger or guitar pick, slowly work around the edges to free it. Be patient; rushing can cause more damage.
- Disconnect the screen. You’ll see a ribbon cable connecting the screen to the tablet’s main board. Carefully detach this. Some tablets might have more than one connector, so keep an eye out.
- Connect the new screen. Take your replacement screen and connect it to the ribbon cable(s). Make sure the connections are secure.
- Fit the new screen in place. Once connected, carefully set the new screen onto the tablet. Press down gently around the edges to secure it.
- Turn on your tablet. If everything went well, your tablet should boot up normally with a brand new, crack-free screen.
Remember, this is a general guide. Specific steps may vary depending on your tablet model, so consult the device’s repair manual or look up online tutorials for model-specific advice. And if you’re not confident, it’s always safer to seek professional help. Fixing your tablet by yourself is rewarding, but it’s not worth risking further damage.
Tips for Removing the Old Tablet Screen Safely
First off, turn off your tablet and remove any charging cables or accessories. You don’t want power running through the device while you’re working on it. Next, get a hairdryer or a heat gun. You’ll use this to gently heat the edges of your tablet. The goal here is to loosen the adhesive that’s holding the screen in place. But watch out, too much heat can damage other parts of your tablet, so keep it moving and don’t focus on one spot for too long. Once the edges feel warm and the adhesive loosens, use a thin plastic tool, like a guitar pick or a plastic opening tool, to pry the screen off. Start at one corner and work your way around the screen gently. Don’t force it; if it’s not coming up, it may need more heat. Remember, patience is key. Rushing can break more than just the screen you’re trying to remove. Keep your hands steady and your mind focused. Once the screen is off, make sure to remove any leftover adhesive from the tablet’s frame. A clean workspace means a smooth installation for the new screen. That’s the first crucial step towards getting your tablet looking like new again.
Installing the New Tablet Screen: A Detailed Overview
First things first, make sure you’ve got the right tools on hand. You’ll need a heat gun or hairdryer, a pry tool or a thin guitar pick, and a set of precision screwdrivers. Don’t forget to buy the correct replacement screen for your tablet model. Wrong parts won’t just waste your time; they just won’t fit. Before jumping in, power off your tablet. Seriously, don’t skip this. A live device can cause shorts, or worse, give you a nasty shock.
Using the heat gun or hairdryer, gently warm the edges of the tablet. This loosens the adhesive holding the screen in place. Be patient and careful. Too much heat can damage other parts. Once it’s warm, use the pry tool or guitar pick to gently lift the broken screen away from the body. Work slowly around the edge. If it feels stuck, apply a bit more heat.
Next, if your tablet has any screws securing the screen, remove them with the precision screwdrivers. Keep these screws safe; losing them is easier than you think. Now, very important, before you place the new screen, make sure there’s no dust or glass shards. A quick wipe with a soft cloth does the trick. Lining up the new screen, gently press it into place. If it needs screws, pop them back in. Otherwise, the adhesive should hold.
Finally, power on your tablet. If the screen lights up and responds to your touch, congrats, you’ve done it. If not, power it off again and check your connections. Sometimes, it’s just a case of adjusting something small.
In essence, replacing your tablet screen takes a bit of patience and precision but saves you money and a trip to the repair shop. Remember, take it slow, and if it feels wrong, double-check your steps.
Testing Your Tablet Post-Screen Replacement
After you’ve replaced your tablet’s screen, it’s crucial to make sure everything works as it should. First, power on your tablet. If it doesn’t turn on, don’t panic. Check if the battery is charged or try another power source. Once it’s on, try touching various points on the screen. This is to ensure the touchscreen responds everywhere. Open an app, scroll through a webpage, or type a message to test different interactions. If you notice any unresponsive areas or strange behavior, the screen might not be correctly connected or could be defective. Next, check the display quality. Look out for any spots, lines, or unusual colors. These could indicate internal damage or issues with the screen installation. Finally, test the buttons and other functions like the camera and speakers. If something doesn’t work right, you might need to open your tablet again and check the connections. Remember, patience and careful testing are key to ensuring your self-repair was a success.
Maintenance Tips to Avoid Future Tablet Screen Damage
Keeping your tablet screen safe from future cracks isn’t just about being careful. It’s about smart habits that shield your device from accidents. First off, invest in a sturdy case. This is your tablet’s armor. It might feel bulky, but it’s worth it when it prevents a tragic screen crack. Next, screen protectors are a must. They’re like a second skin for your screen, taking the hit when danger comes knocking. Always know where your tablet is. Sounds simple, right? But leaving it on the couch or in places where it can easily fall is asking for trouble. Get into the habit of placing it in a designated spot, away from edges. Use your tablet with clean hands. Oil, food, and other grime can make your tablet slippery and harder to grip. Lastly, educate everyone in your home about tablet care, especially if kids use it. Their understanding of how to handle the device properly can make all the difference. Stick to these habits, and your tablet’s screen has a fighting chance to stay intact.
Summary and Final Thoughts on DIY Tablet Screen Repair
Repairing your tablet’s screen yourself can save you a good chunk of change and give you a hefty dose of satisfaction. Remember, it’s crucial to assess the damage first. Small cracks might be manageable, but deep or extensive damage might require professional help. The tools you need are usually affordable and accessible; a basic toolkit for electronic devices will often do the job. Just follow the steps carefully, keep a steady hand, and don’t rush. The process might test your patience, but the outcome is rewarding. If the damage is beyond a simple fix, or if you’re not confident in your DIY skills, seeking professional repair might be your best bet. Not every cracked screen story needs to end in a hefty repair bill or a new purchase. With the right approach, you might just breathe new life into your tablet.